GT/Pint Badger Waterproofing Instructions

GT/Pint Badger Waterproofing Kit Instructions

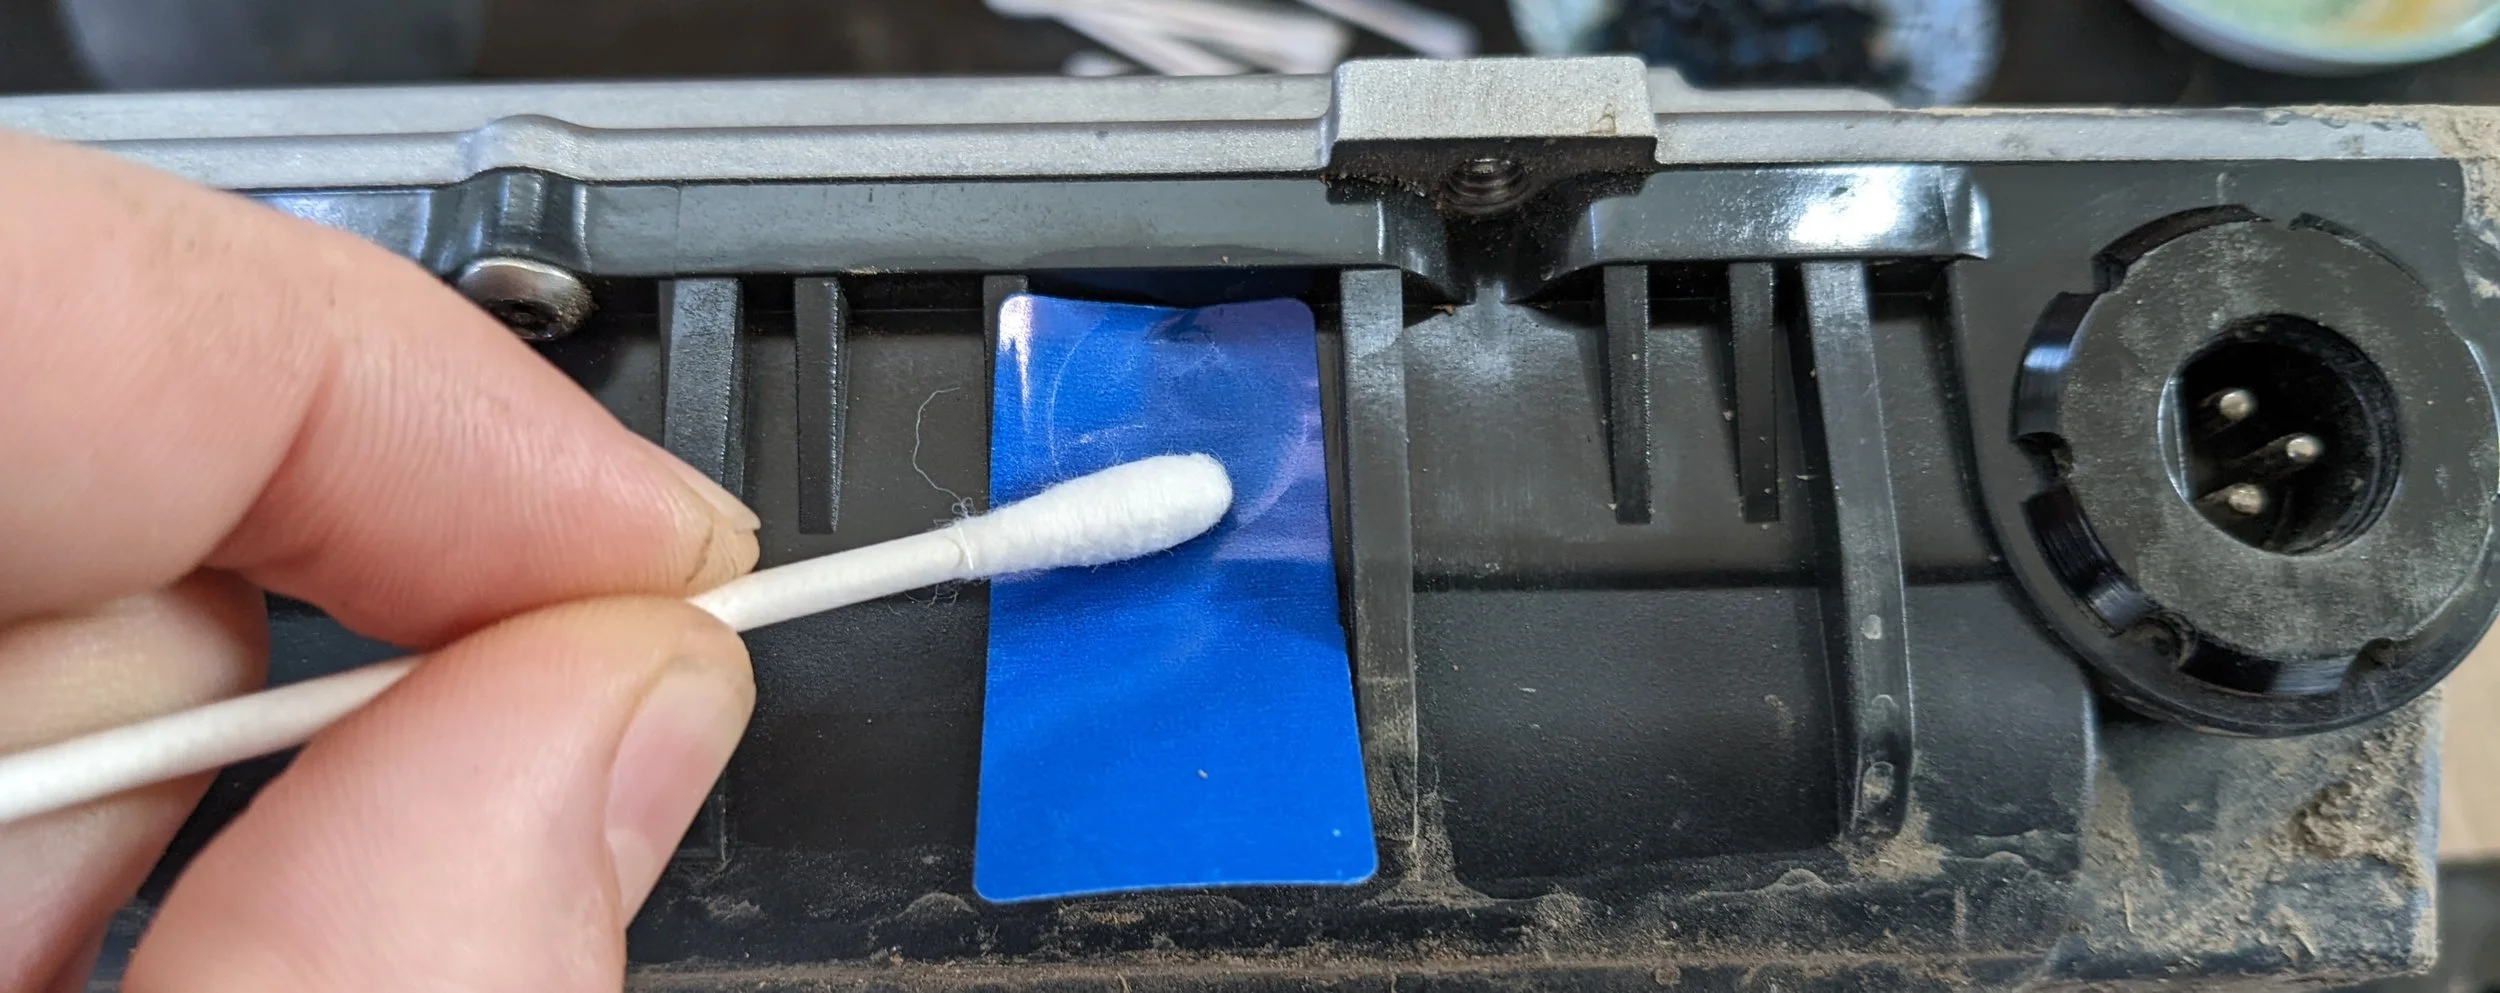
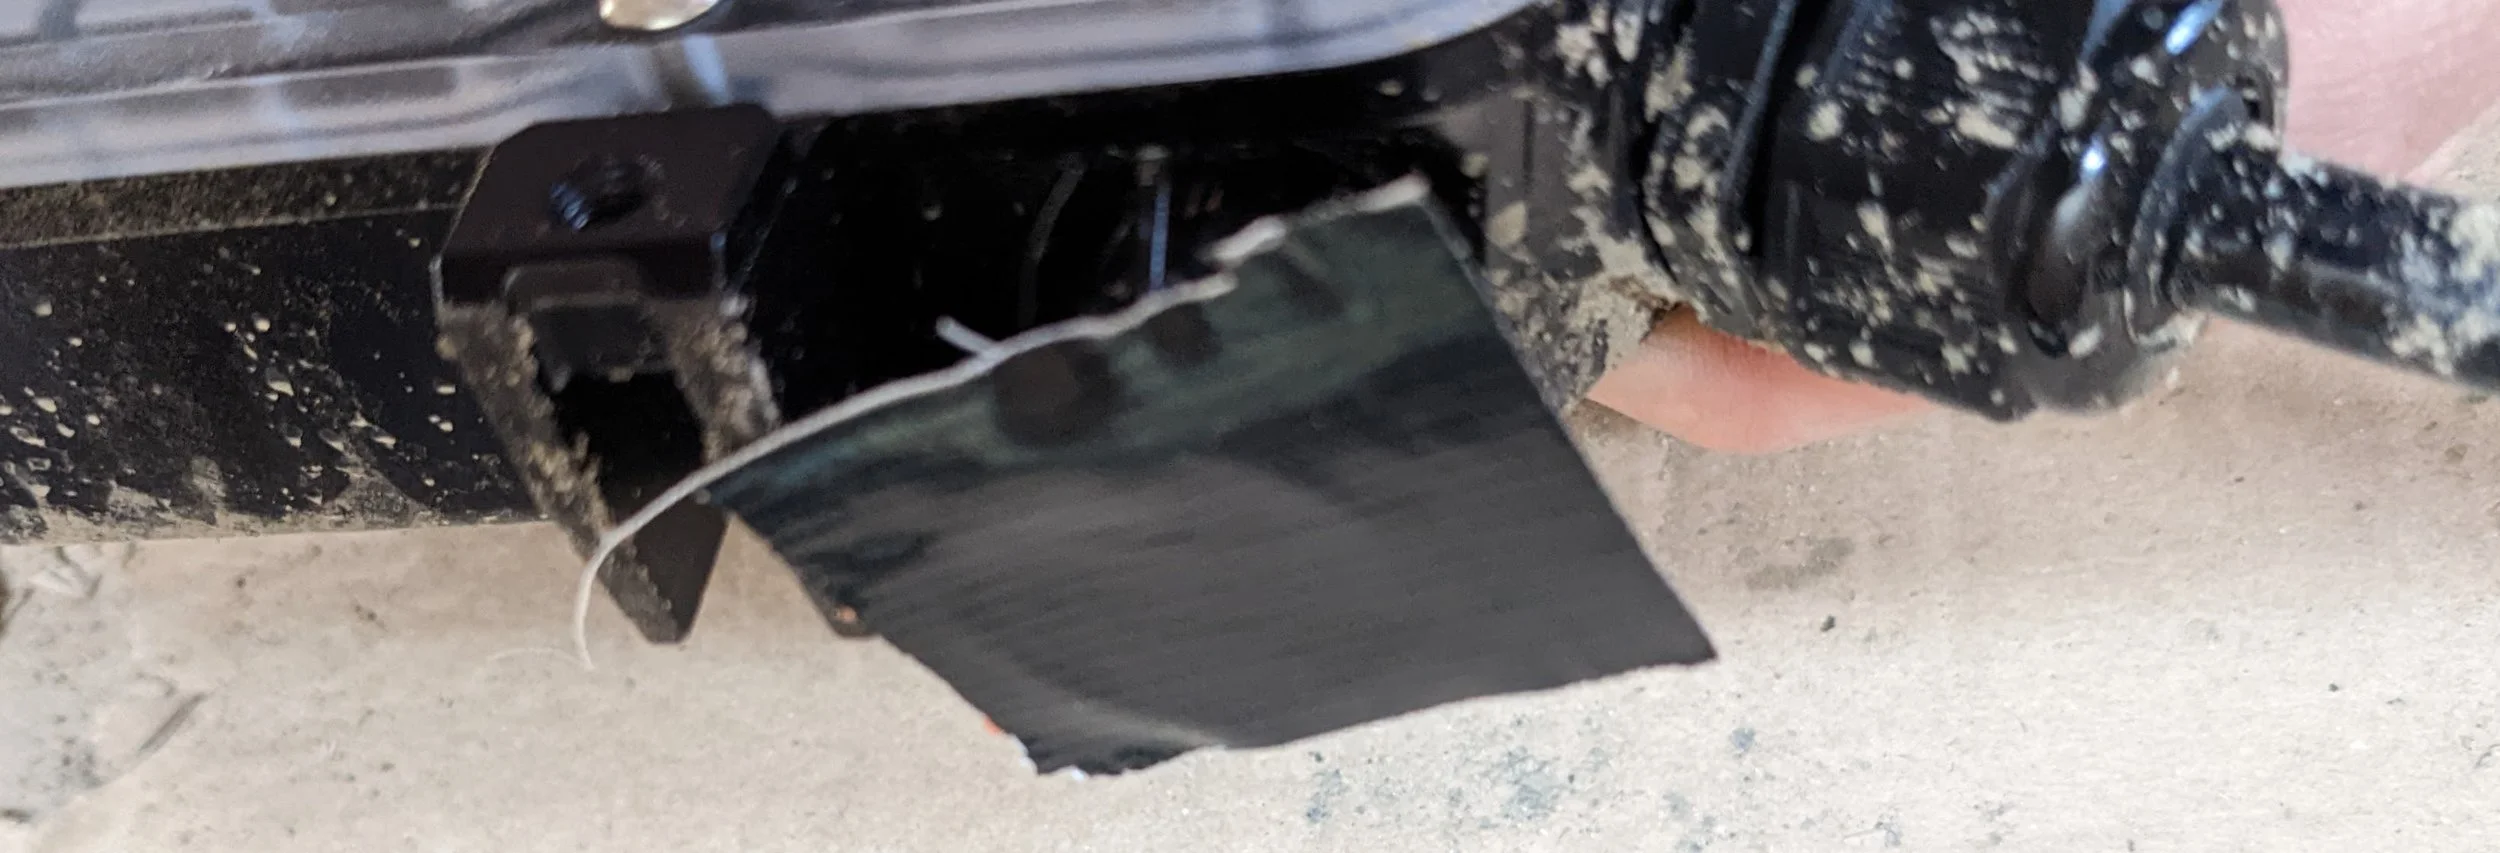
Note: video shows the Windex method, which can be quicker. The below instructions show the duct tape method. Neither is necessary in most cases.

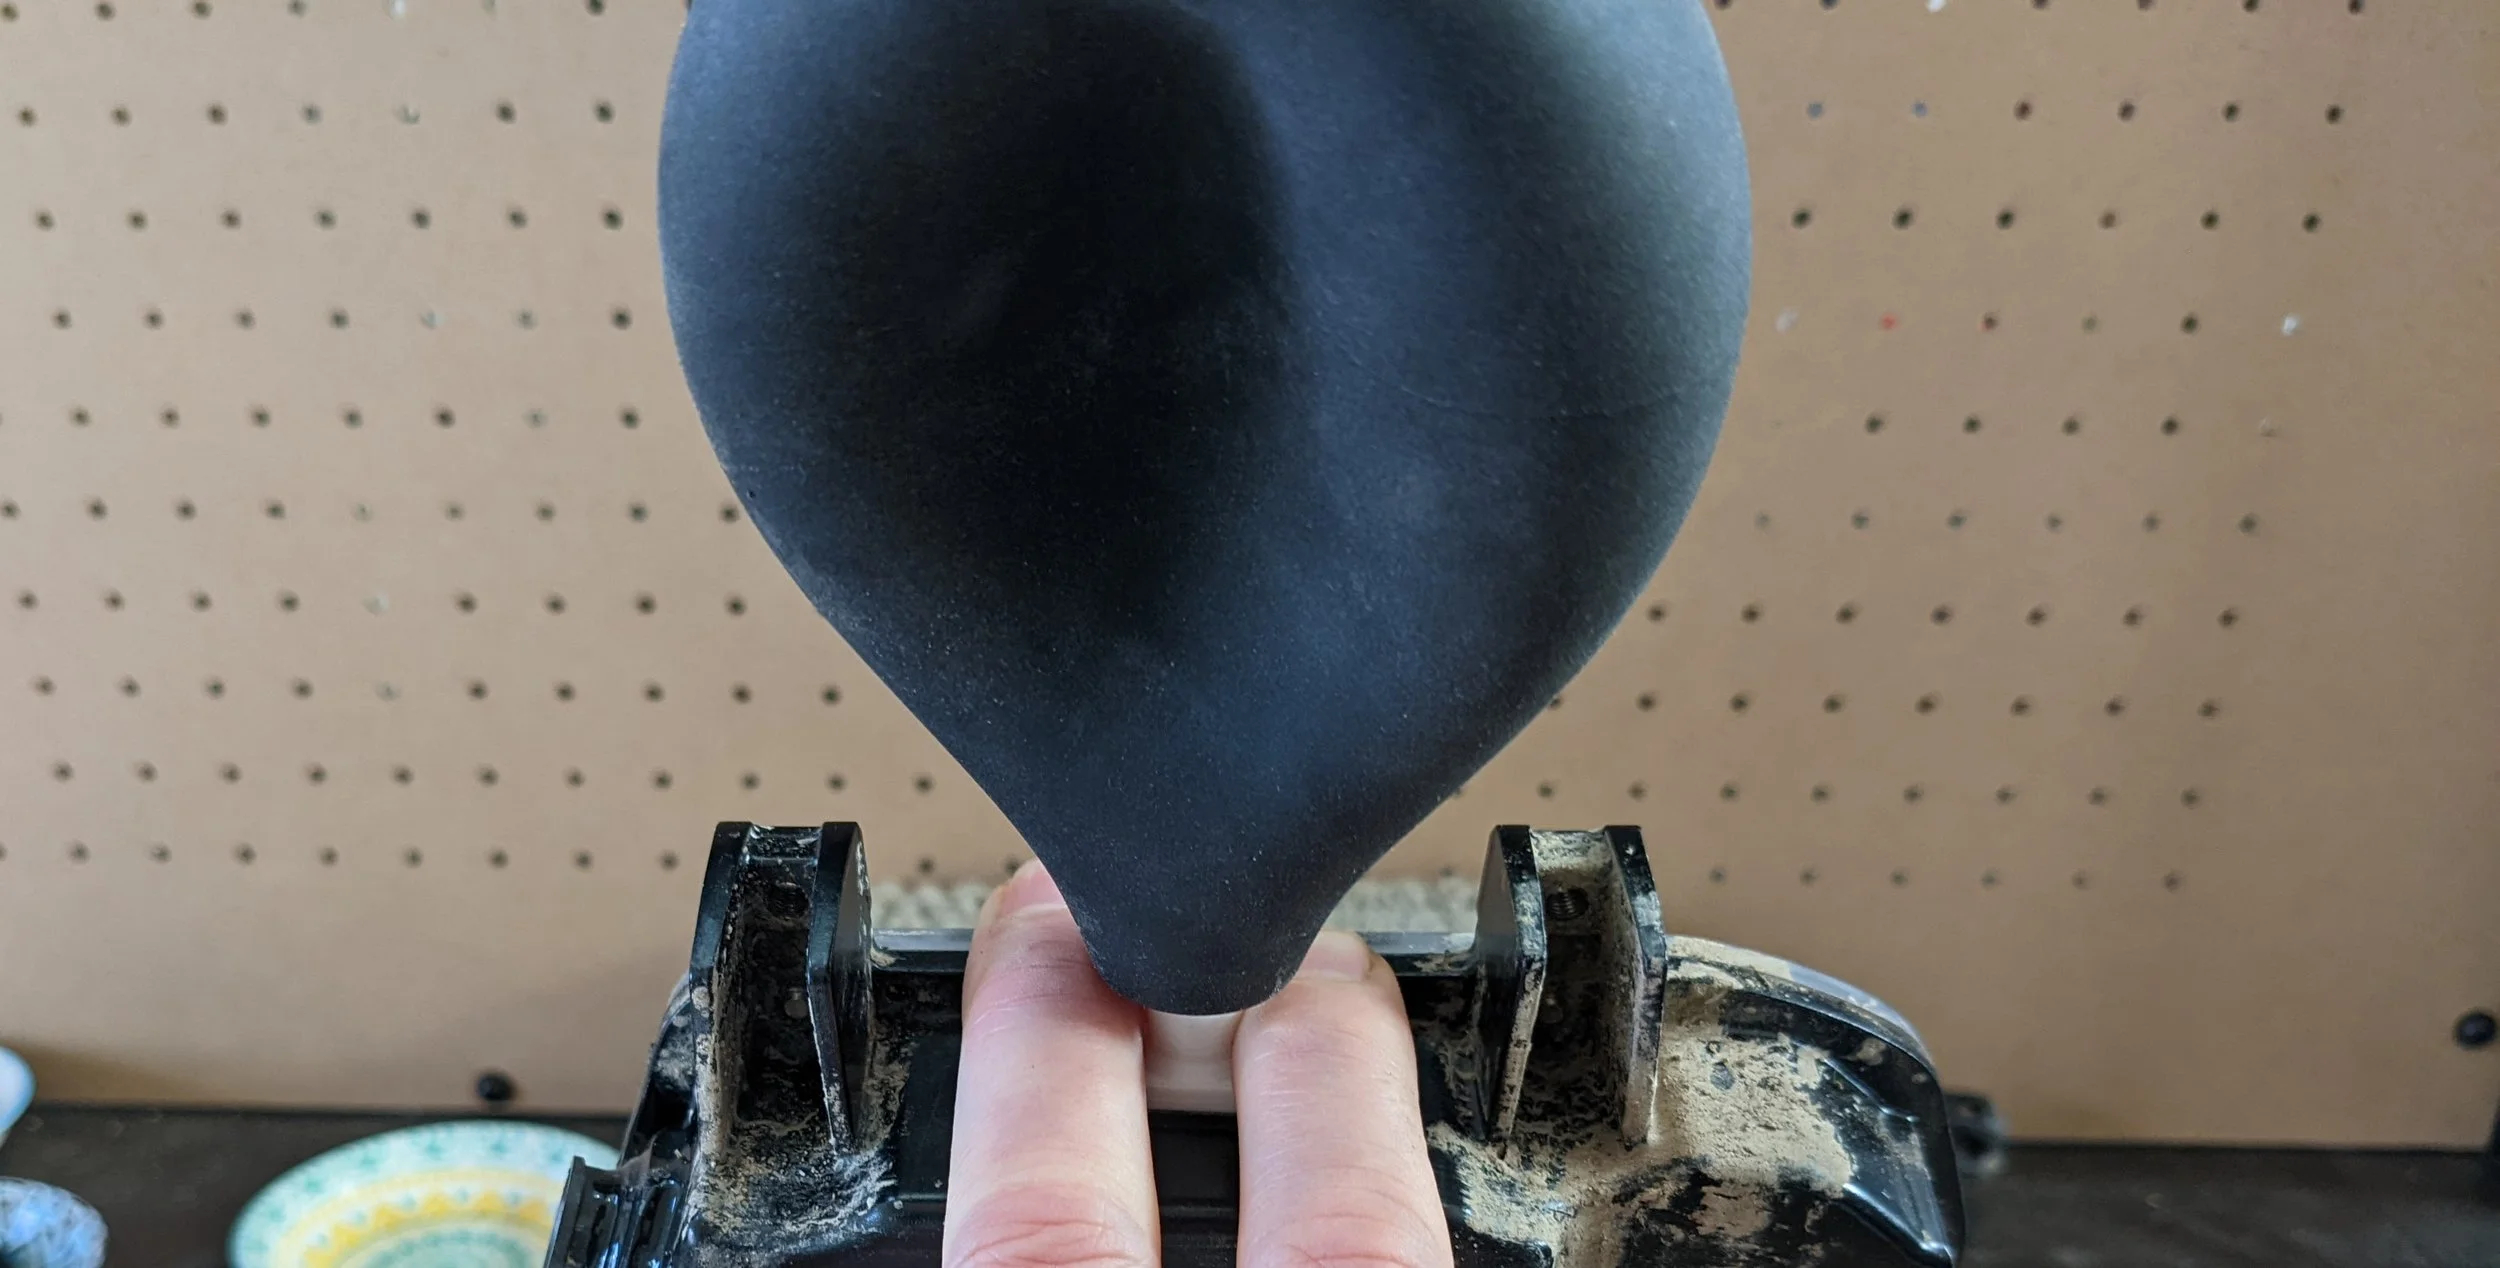
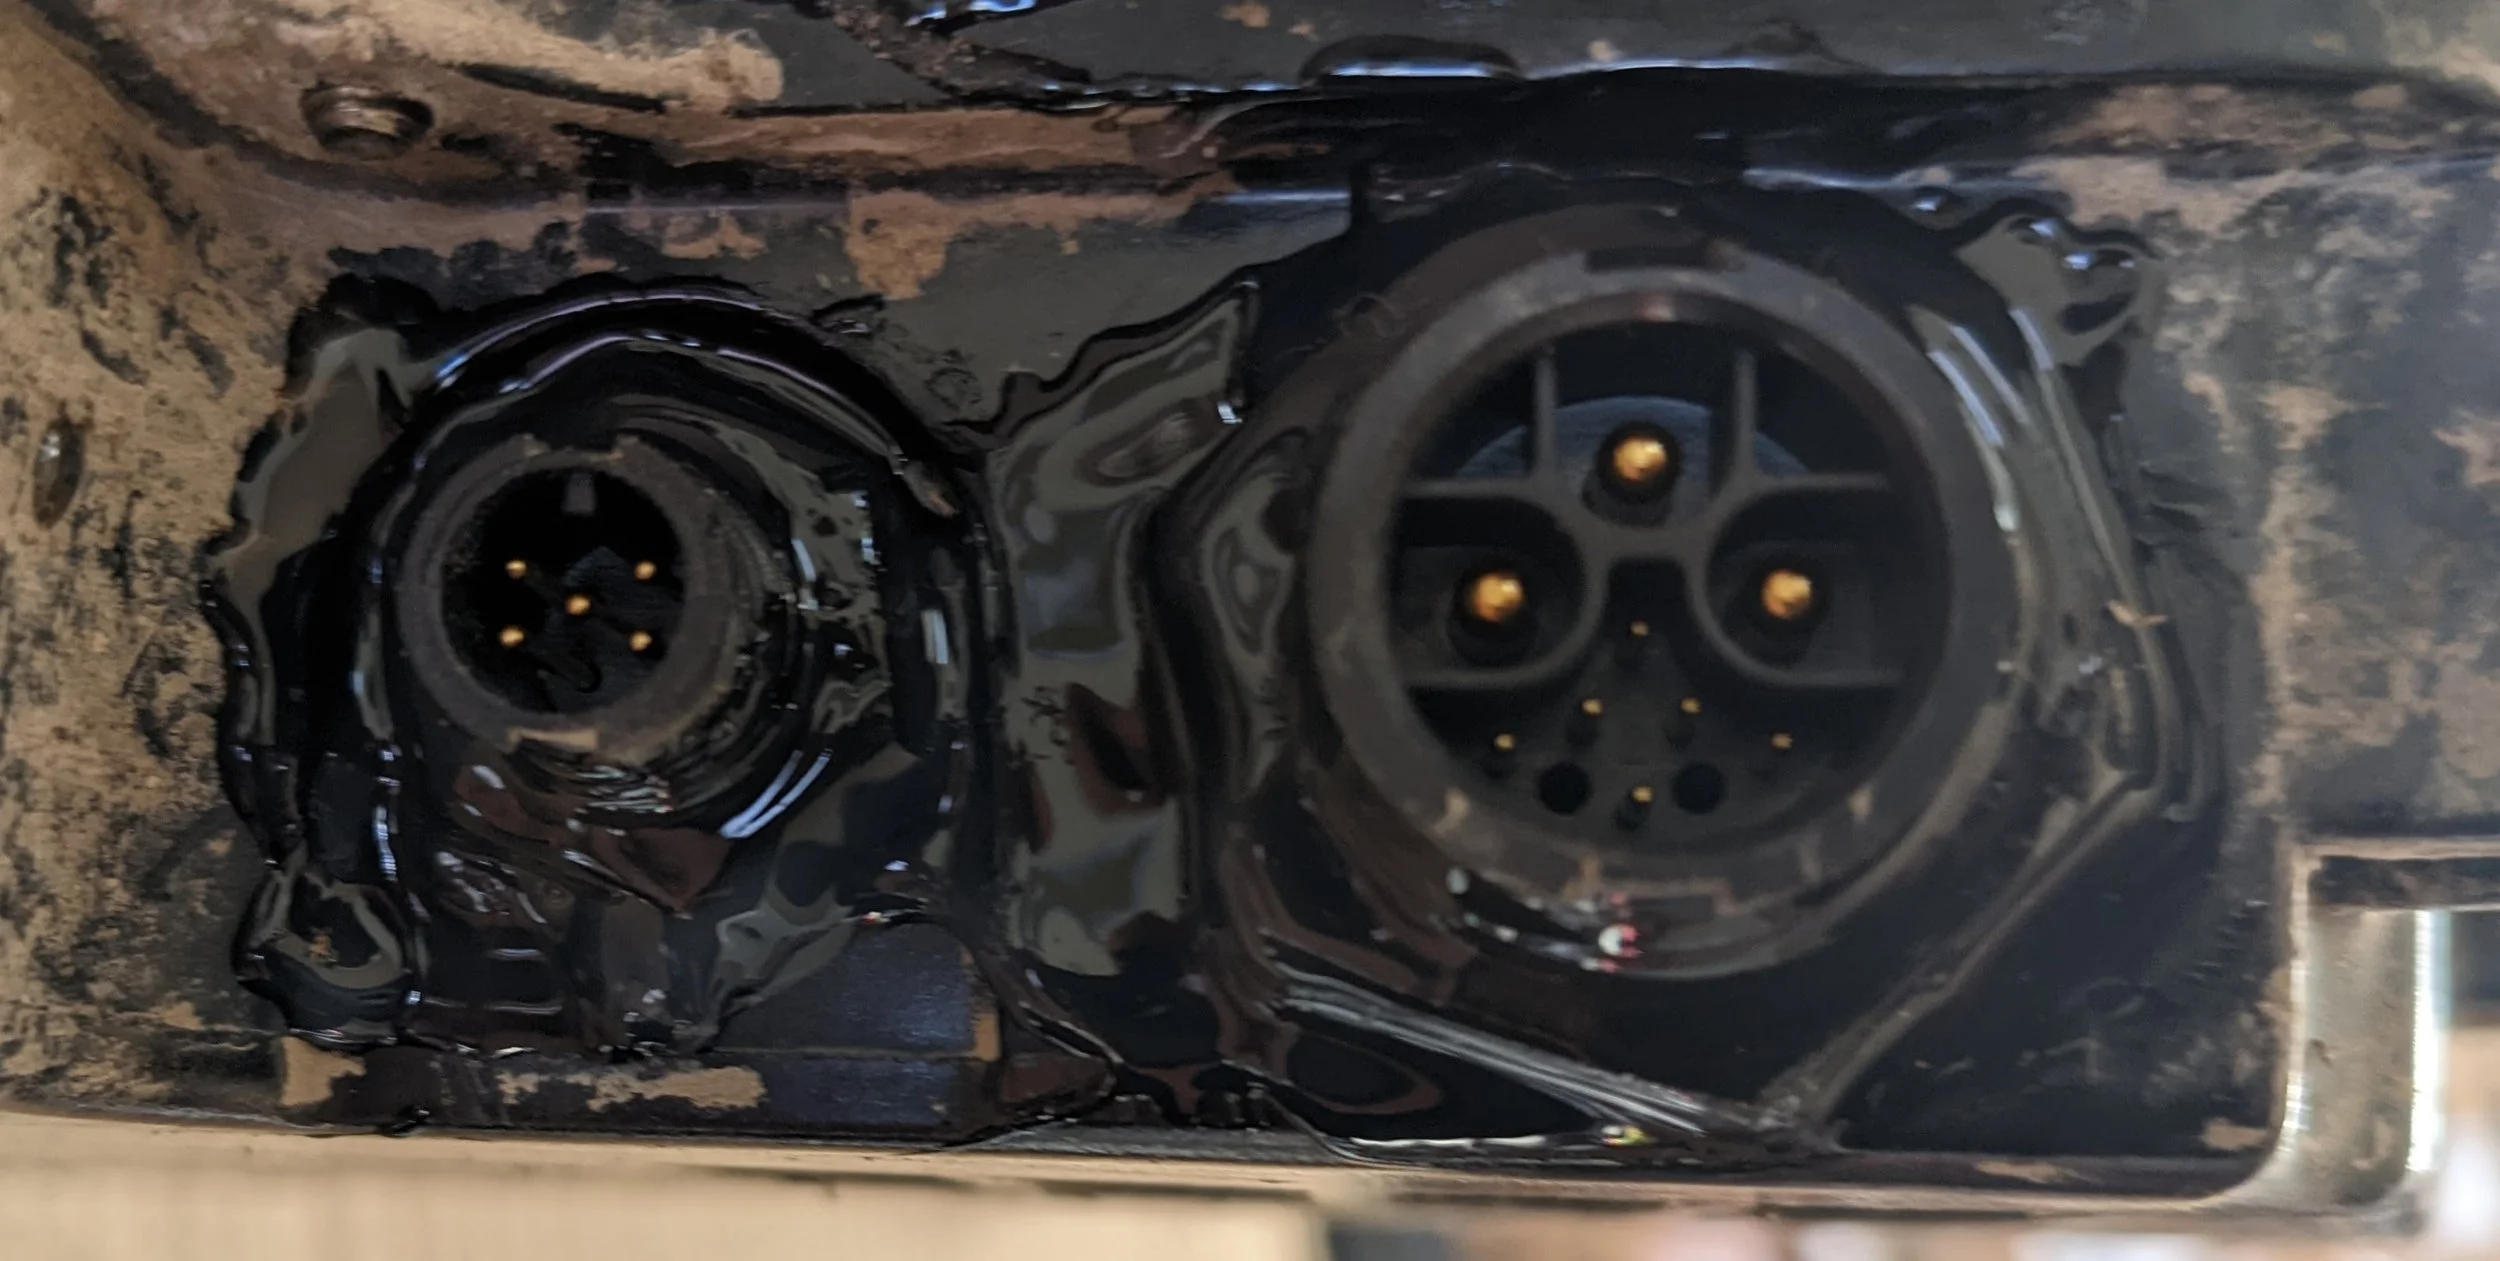
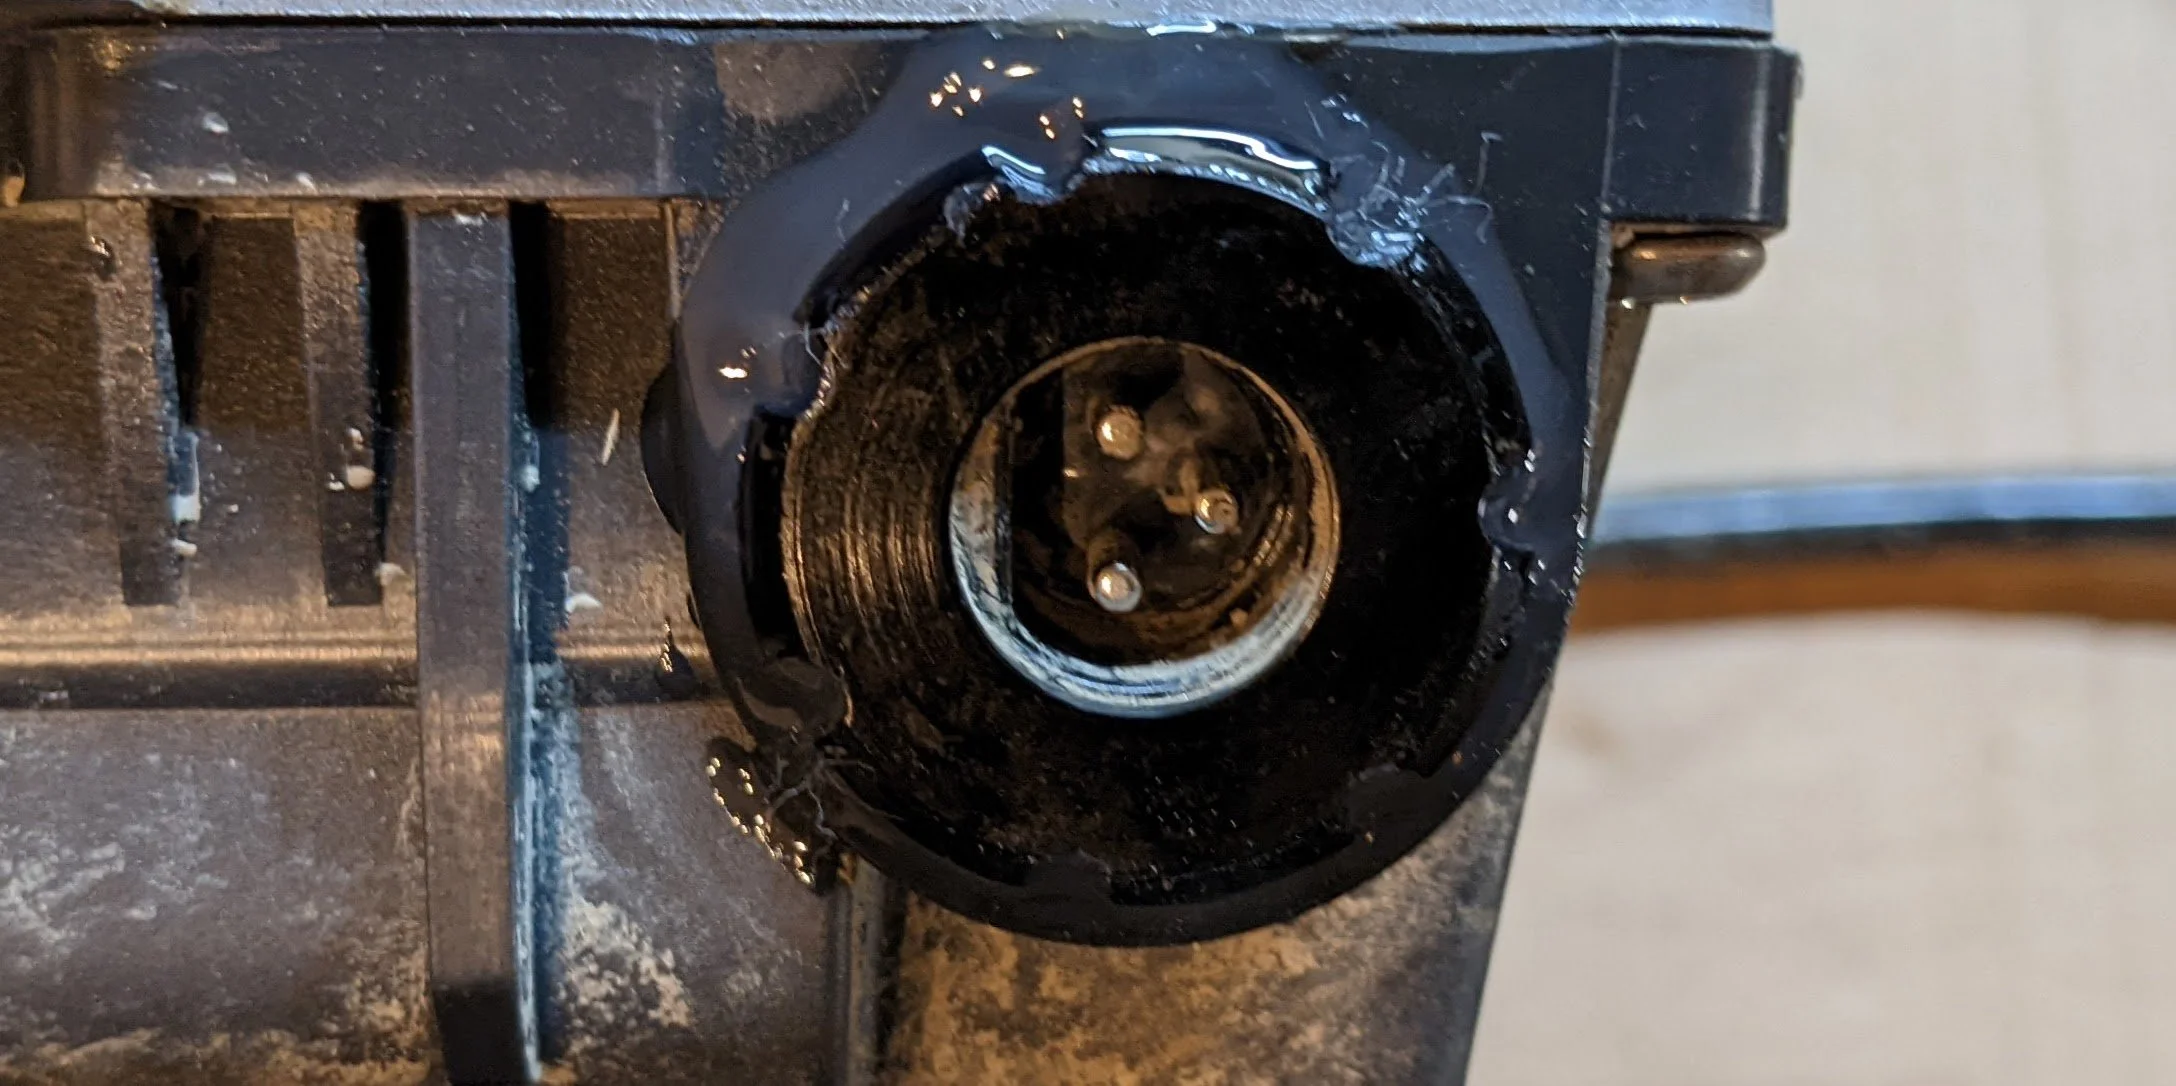
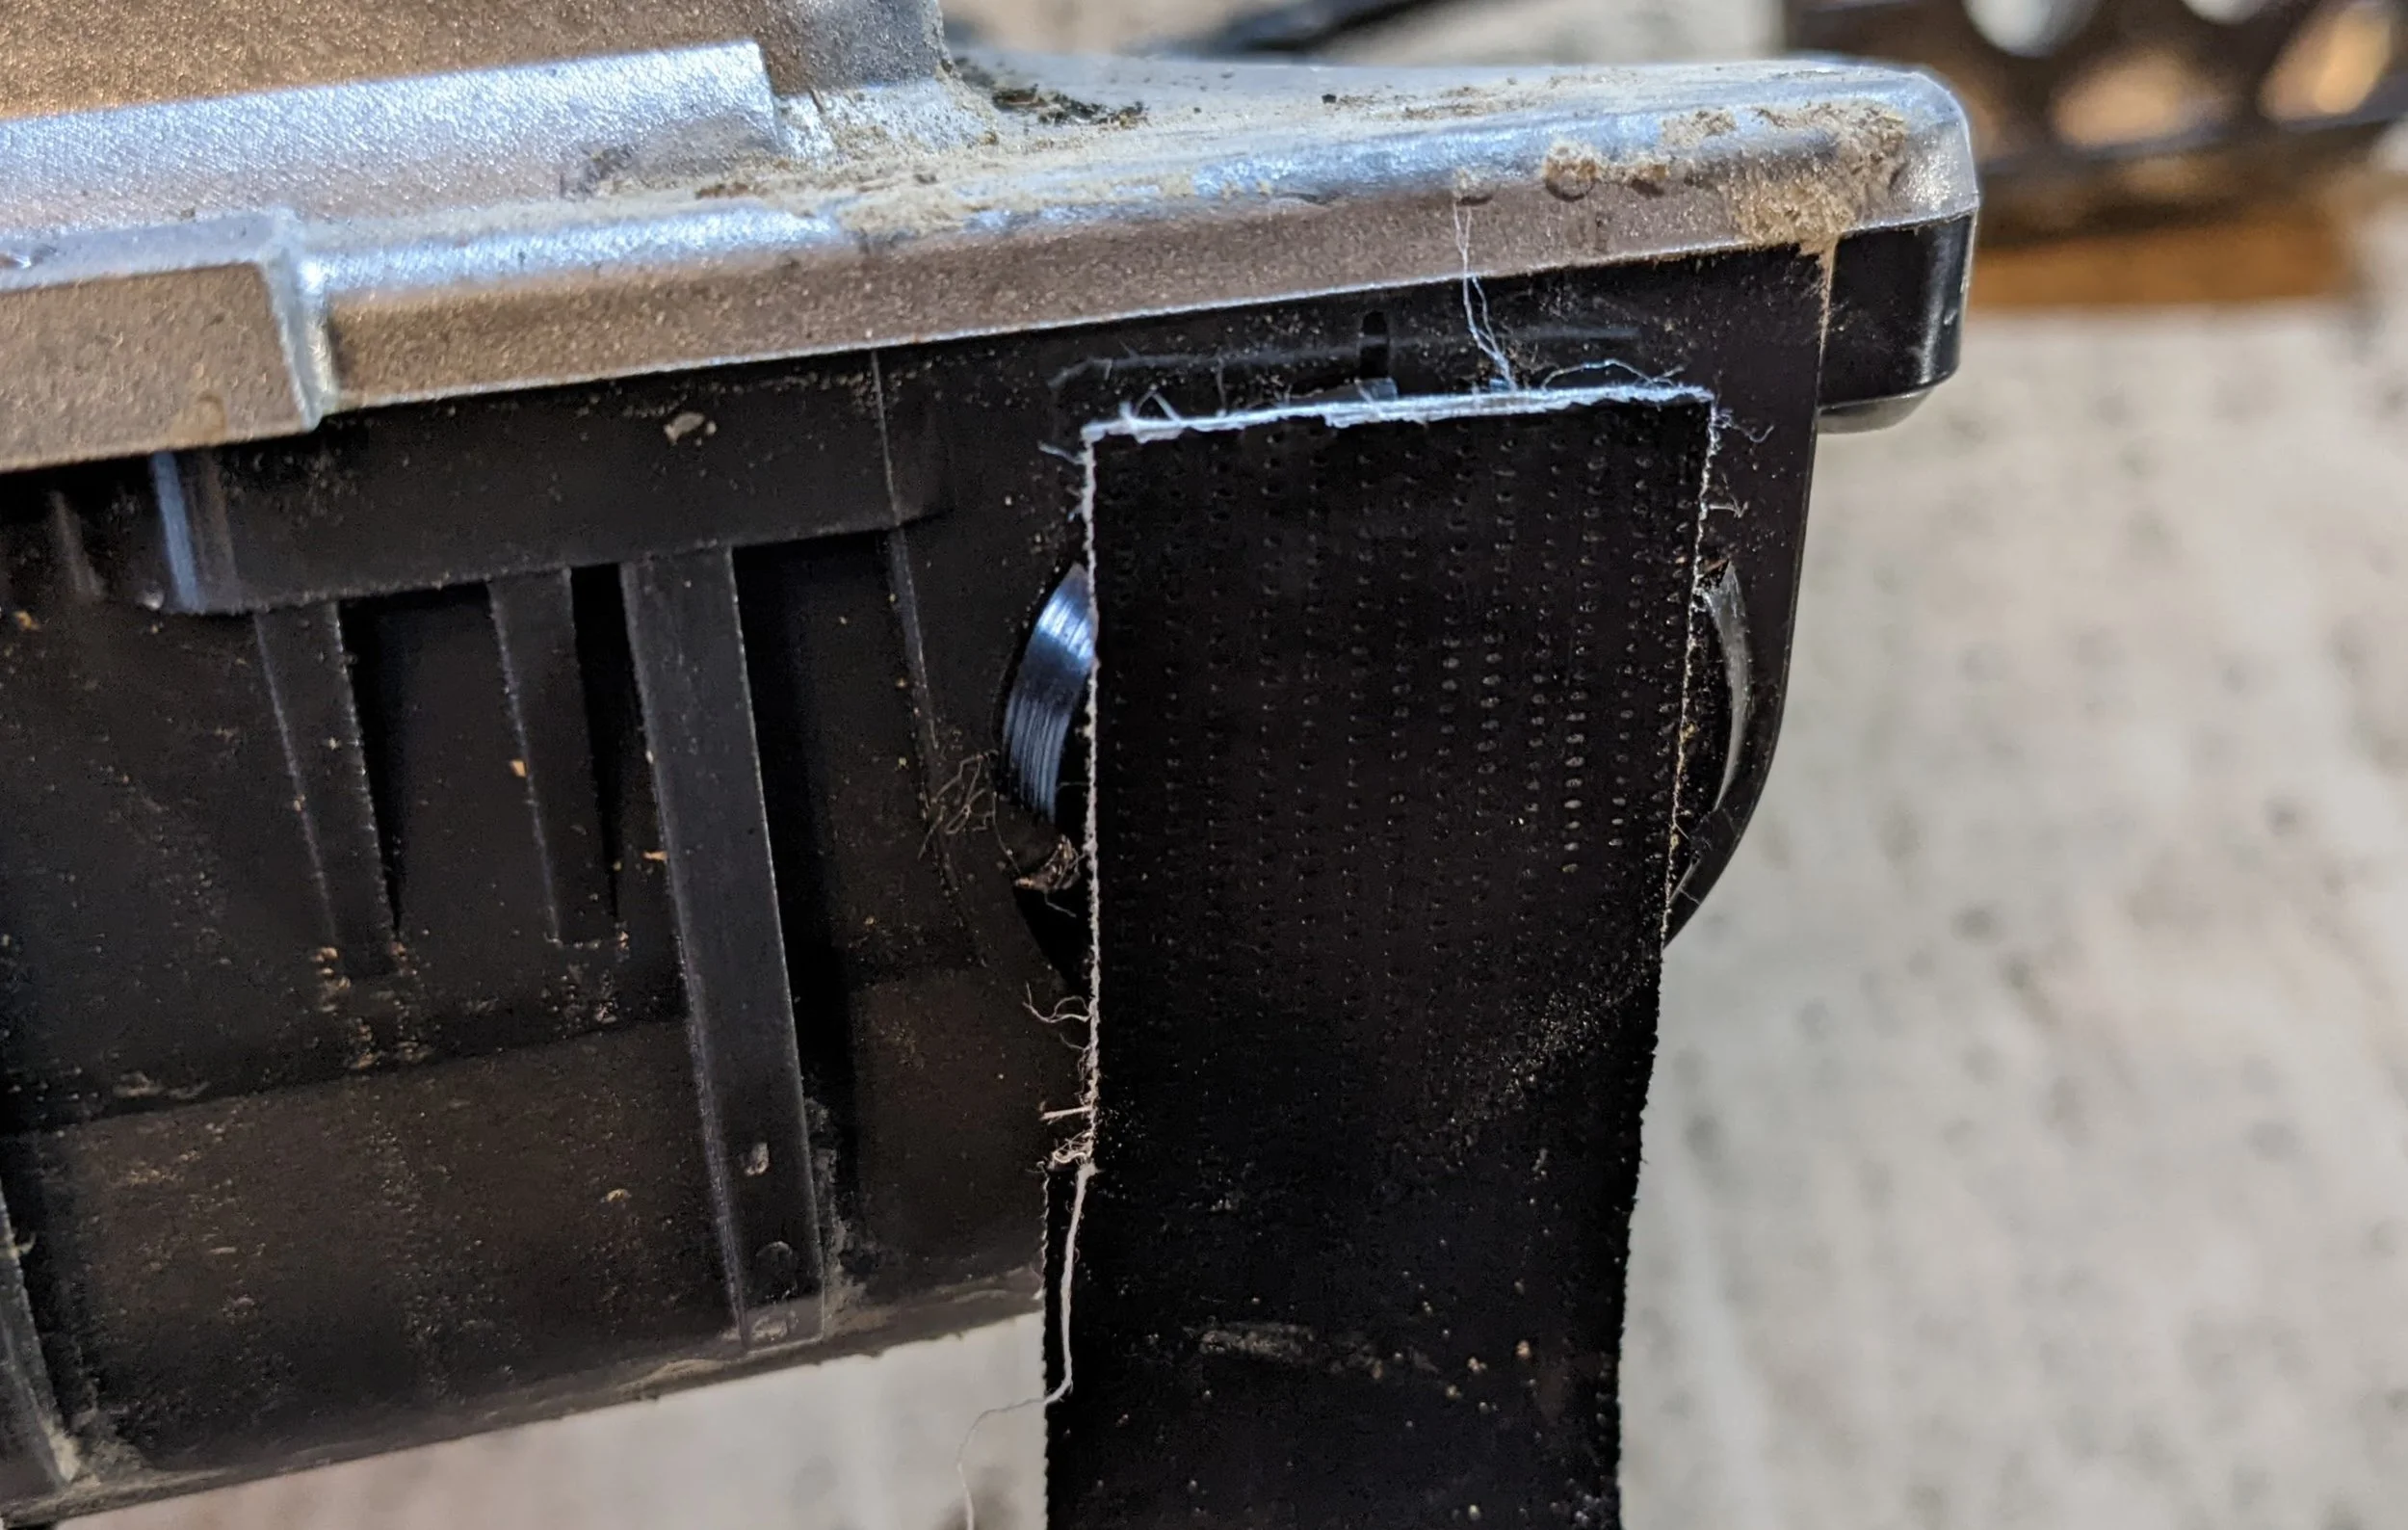
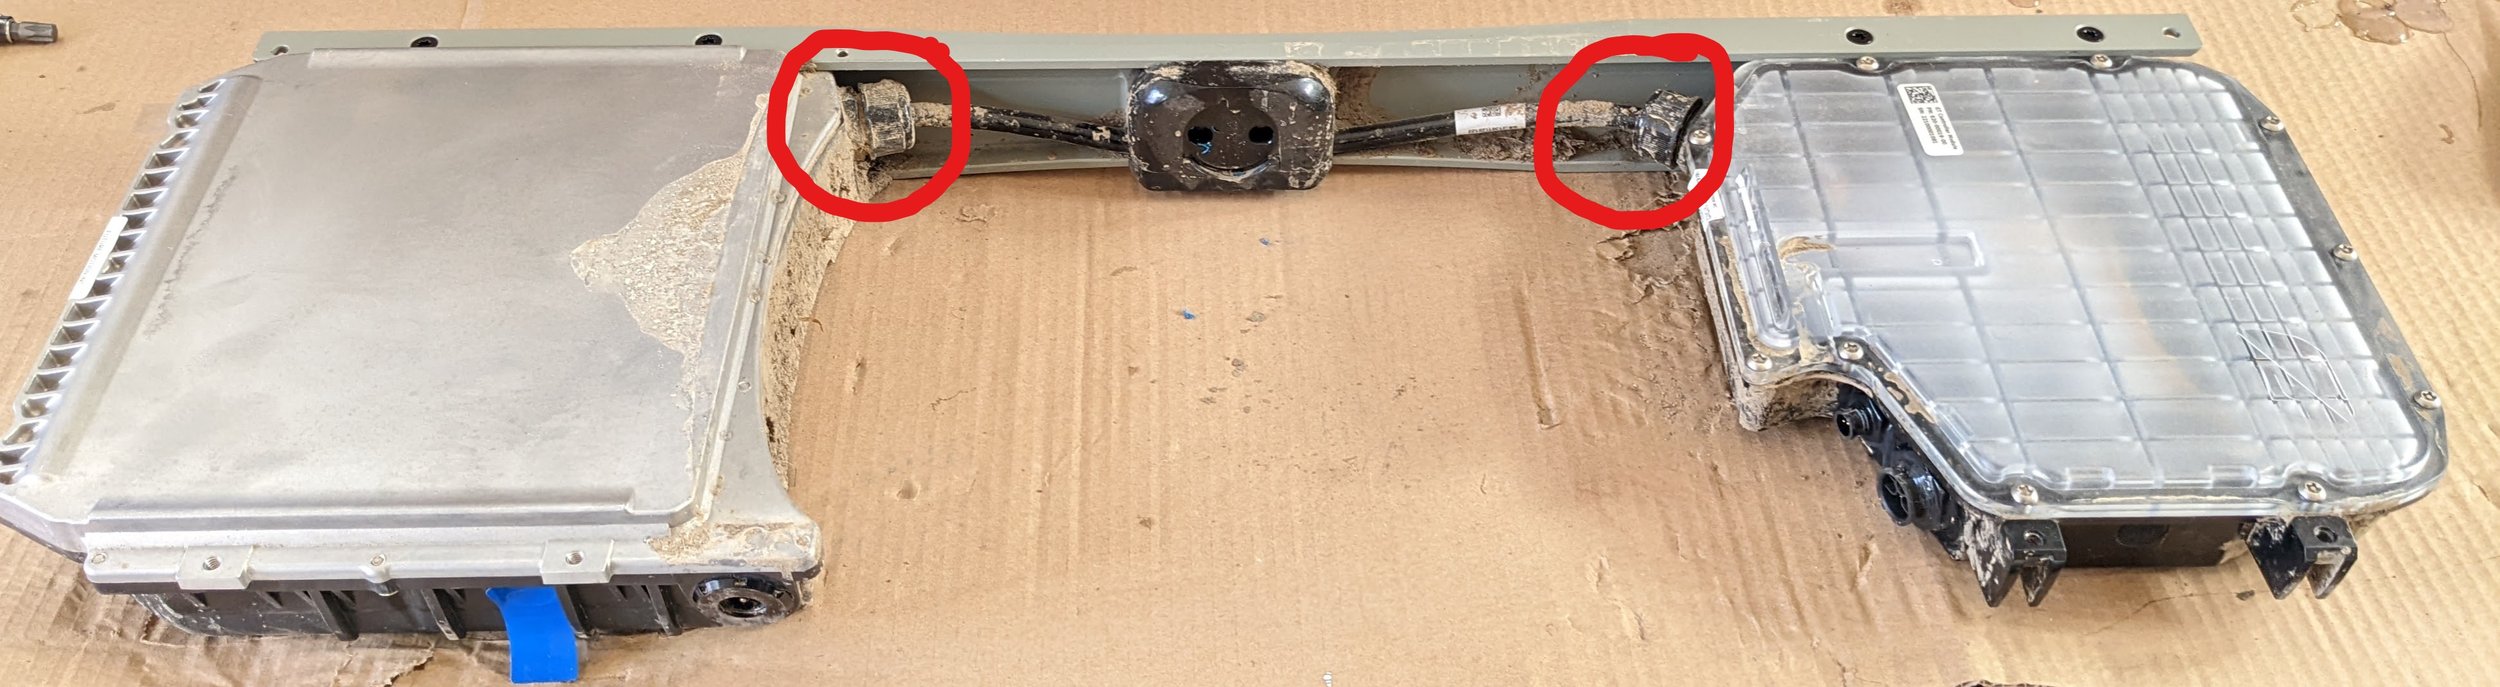
Step 1: Disassemble to this point:

Step 2: Remove vents and apply sticker to seal off the battery box:
IMPORTANT: Use a qtip to ensure the sticker is firmly pressed down, otherwise it will leak.
Note: we do this because air can transfer between battery and controller through the cable, so we have to leak-test them both at once.

Step 3: Initial Leak test: Sniffer should not fully inflate after 3 minutes.
IMPORTANT: fully deflate the Sniffer first as shown.


Step 4: (if leak check fails) Seal the controller connectors.
Cover the base AND the top of the hex nuts, filling the gaps between the nut and the connector.
IMPORTANT: clean the affected areas first with qtips.

Step 5: (if leak check still fails) Seal the charge port:

Step 6: (if still leaking) Remove the other rail so you have full access. Cover all the open ports with nice sticky duct tape (power button, charge port, and the two controller connectors). This will check if they are leaking (very unlikely). If this fixes the leak, take off the duct tap from the charge port and retest, then the power button, and retest.
If charge port is leaking through the pins: order thin silicone, apply to inside.

If power button is leaking, open controller, check that nut is tight, apply silicone to inside.

If connectors are leaking through the pins, ignore. They will be sealed when you reconnect.


Step 7: Spray windex on the red circled connections below, pressurize, and check for air bubbles. Clean and coat with silicone as needed. Note: both rails should be removed for this.


Step 8: Reapply vents.
IMPORTANT: Do NOT touch the vent adhesive side with fingers. Use the included vent tool (guitar pick). Ensure the vent hole area is clean and free of adhesive residue before applying vents.

Step 9: Reassemble.